
In the world of plastic part manufacturing, injection molding reigns supreme. It’s a versatile and efficient process, but its success hinges on one crucial factor: good design. A well-designed part can mean the difference between a flawless production run and a costly disaster riddled with defects. By optimizing your design for injection molding, you can prevent costly mistakes, streamline production, and ultimately reduce costs.
Injection molding involves injecting molten plastic into a mold cavity, where it cools and solidifies into the desired shape. While the concept is simple, the design process requires careful consideration to ensure the part is manufacturable, functional, and aesthetically pleasing.
This guide will explore the essential design considerations for successful injection molding. From choosing the right materials to navigating common challenges, we’ll equip you with the knowledge needed to create plastic parts that meet your exact specifications and perform flawlessly in the real world.
Designing for Manufacturability
Wall Thickness
Consistency is key in injection molding. Maintaining uniform wall thickness throughout your part is crucial to prevent defects like warping and sink marks. These unsightly blemishes occur when thicker sections cool and shrink at different rates than thinner areas. Aim for a wall thickness that falls within the ideal range for your chosen material and part size. While this range varies depending on the specific plastic, a good starting point for many common materials is between 1.5mm and 4mm.
Draft Angles
Imagine trying to extract a perfectly square ice cube from a tray without any taper – it’s a recipe for disaster. Draft angles serve a similar purpose in injection molding. They are slight tapers applied to the vertical walls of a part, making it easier to eject from the mold. Generally, a draft angle of 1-2 degrees per side is recommended, but deeper features may require more. Consider the specific material you’re using, as some plastics shrink more than others and may necessitate larger draft angles.
Radii and Fillets
Sharp corners are a no-go in injection molding. They can create stress concentration points, leading to part failure and difficulty filling the mold. Instead, opt for rounded corners using radii and fillets. These gentle curves not only reduce stress but also improve the flow of molten plastic during injection, resulting in a stronger and more aesthetically pleasing part.
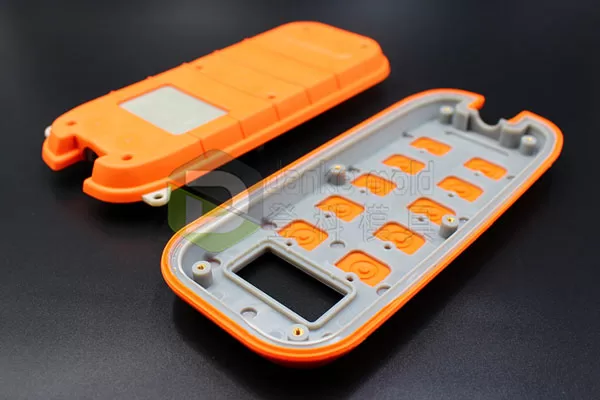
Plastic products
Undercuts and Side Actions
Undercuts are features that prevent a part from being ejected in a straight line from the mold. They can significantly increase mold complexity and cost. If undercuts are unavoidable, design solutions like side actions or mold inserts can be employed. These mechanisms allow for the creation of complex features while still enabling easy part ejection.
Ribs and Bosses
Ribs and bosses are design elements used to strengthen parts, provide mounting points, or facilitate alignment. When designing ribs and bosses, pay attention to their thickness and spacing. Ribs should be thinner than the walls they’re connected to, and bosses should have adequate wall thickness to prevent sink marks.
Material Selection
The choice of material significantly impacts the functionality and success of your injection-molded part. Common thermoplastics used in injection molding include polypropylene (PP), polyethylene (PE), and acrylonitrile butadiene styrene (ABS). Each material offers unique properties, such as strength, flexibility, heat resistance, and chemical resistance.
Consider the specific requirements of your application when choosing a material. For example, a part that will be exposed to high temperatures may require a heat-resistant plastic like nylon or polycarbonate. Additionally, be aware of material shrinkage—the tendency of plastics to contract slightly as they cool after molding. Compensate for this by factoring shrinkage rates into your design dimensions, or consult with a molding expert for guidance.
Troubleshooting Common Injection Molding Issues
Even with careful design, injection molding issues can arise. Short shots occur when the molten plastic doesn’t completely fill the mold cavity, resulting in incomplete parts. This can be caused by insufficient material, inadequate pressure, or flow restrictions in the mold. Larger gates or adjusted flow paths can often resolve this issue.
Warping is the deformation of a part after it’s ejected from the mold. Uneven cooling, residual stresses within the material, or improper mold design can contribute to warping. Adding ribs for reinforcement, optimizing cooling channels in the mold, or using materials with lower shrinkage rates can help prevent warping.
Sink marks are depressions or voids that appear on the surface of a part. They typically occur in thicker sections where the material cools and shrinks unevenly. To minimize sink marks, consider coring out thick sections to maintain a more uniform wall thickness, or adjust the cooling process to ensure even heat distribution.
Conclusion
Designing for injection molding is a critical step in ensuring the success of your plastic parts. By adhering to design best practices, carefully selecting materials, and troubleshooting potential issues, you can create high-quality, cost-effective parts that meet your exact specifications. If you’re unsure about any aspect of the design process, don’t hesitate to seek guidance from an experienced injection molding professional.